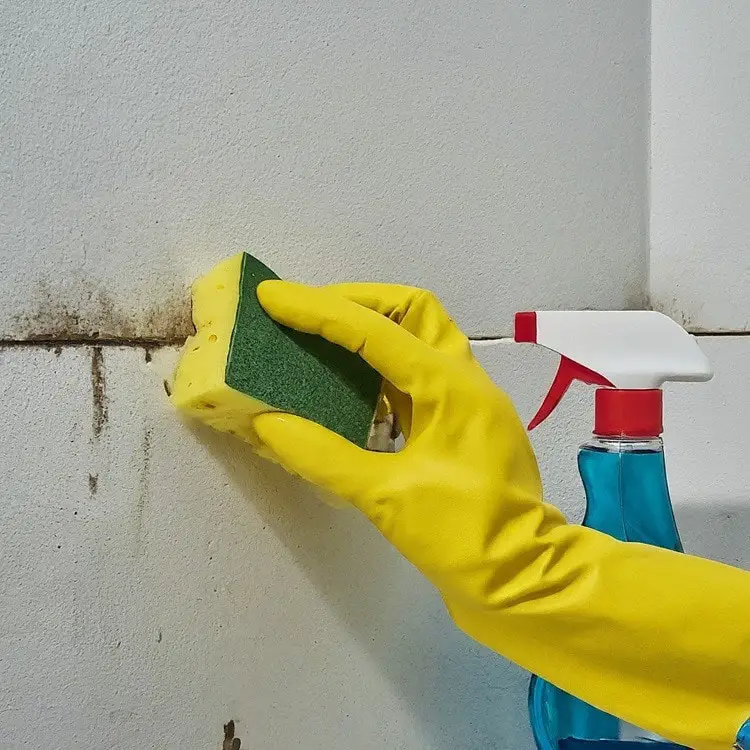
Does your once-sparkling shower now sport a grimy, moldy look? Mold growth in damp shower areas is a common problem for homeowners and renters alike.
Not only is mold unsightly, but it can also trigger allergies and respiratory problems.
The good news is that tackling mold in your shower doesn’t require harsh chemicals or expensive professional help.
First, grab a soft brush and gently sweep debris clinging to the caulk. Then, whip up a bleach solution (diluted, of course, safety first!).
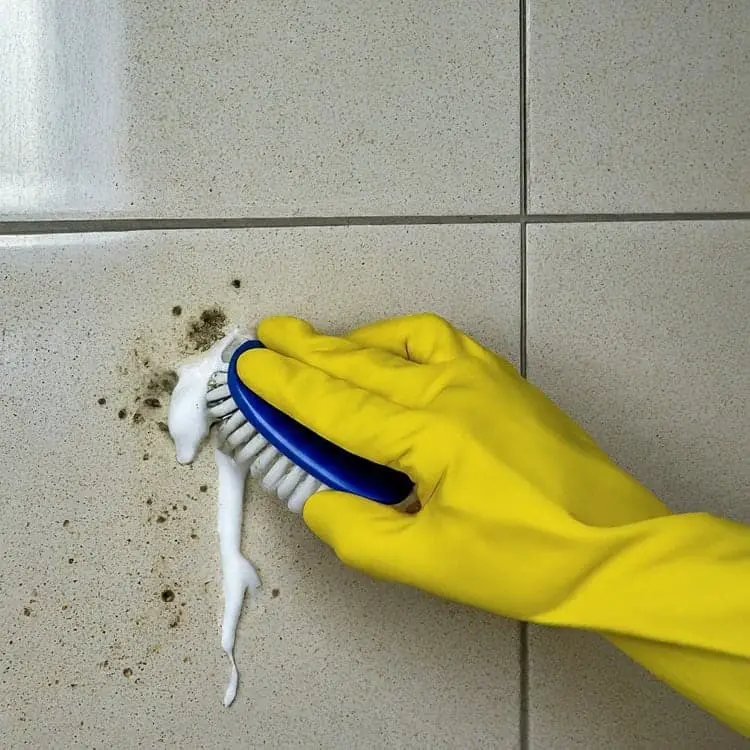
Apply it generously to the mold-infested areas and let it work its magic for a while. Once the bleach has had its say, grab your brush and give those spores a good scrub.
Finally, rinse everything thoroughly to reveal a clean and gleaming shower, just like it should be!
If you notice extensive mold growth, mainly if it covers large areas or seems particularly stubborn, consider seeking professional help for proper mold removal and assessment.
They can also determine if a hidden moisture problem behind your tiles needs addressing.
Effective Ways How to Remove Mold From Shower Caulk and Tile Grout
Before diving into cleaning methods, it’s helpful to recognize the type of mold you’re dealing with. Common shower mold culprits include:
- Cladosporium (black mold)
- Penicillium (green or blue mold)
- Aureobasidium (pink, brown, or black mold)
Safety First: Protecting Yourself While You Clean
When using bleach or other harsh chemicals, proper ventilation is crucial.
Open bathroom windows and doors, and consider using a fan to create airflow.
For your safety, wear rubber gloves, eye protection (goggles), and a mask to prevent inhaling mould spores or chemical fumes.
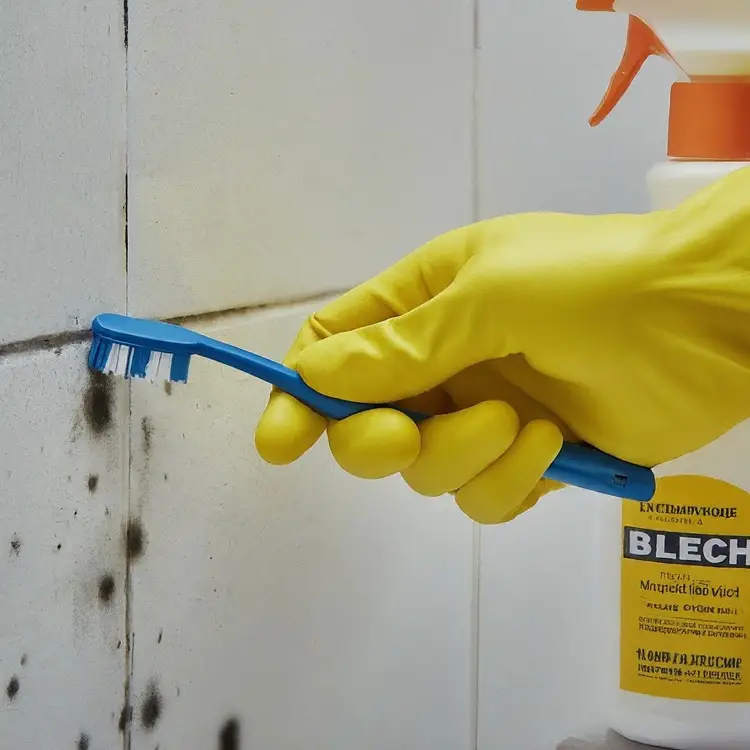
1. The Bleach Solution
- Bleach is a powerful disinfectant that can effectively kill mold.
- Create a diluted bleach solution by mixing 1 part bleach with 4 parts water in a spray bottle.
- Apply the solution to the mold-infested areas, ensuring good coverage. Necessary: Never mix bleach with ammonia, as this creates toxic fumes.
- Let the bleach solution sit for 10-15 minutes, then scrub the area thoroughly with a grout brush or toothbrush.
- Rinse the area well with clean water and let it dry completely.
2. Natural Powerhouse
Baking Soda, Vinegar, or Hydrogen Peroxide:
- If you prefer a milder approach, consider natural cleaning alternatives.
- Create a paste using baking soda and water, or use white vinegar or a 3% hydrogen peroxide solution
- Apply the chosen solution to the mold infested areas, let it sit for 15-20 minutes, then scrub and rinse thoroughly.
3. When to Call in the Professionals
If you’re dealing with extensive mold growth, have allergies or respiratory problems triggered by mold exposure, or simply can’t seem to remove the mold yourself, it’s best to seek professional help.
A professional mold removal service can safely and effectively eliminate mold growth and identify any underlying moisture issues contributing to the problem.
Read More How to Clean a Shower Curtain Without Taking It Down
What other preventive measures can I take to avoid future mold growth From Shower Caulk and Tile Grout?
1. Regular Cleaning Routine:
- Scrub and Rinse: Make scrubbing the shower surfaces, including caulk and grout, a regular part of your shower cleaning routine. Choose your preferred cleaning solution (natural or diluted bleach) and scrub thoroughly, especially in areas prone to moisture buildup.
- Weekly Disinfection: Consider incorporating a weekly disinfection routine using a vinegar solution or a commercial mold control product (following the product instructions carefully).
2. The Power of Ventilation:
- Fan Power: After showering, turn on the bathroom exhaust fan for at least 30 minutes to remove excess moisture and prevent condensation. If you don’t have a fan, open a window to create airflow.
- Air it Out: Whenever possible, leave the bathroom door open after showering to allow moisture to escape and prevent it from becoming trapped.
3. Moisture Management:
- Squeegee Away Excess Water: After each shower, use a squeegee to remove water droplets from shower walls, particularly around corners and near the ceiling. This simple step significantly reduces the moisture available for mold to grow.
- Dry Damp Areas: Pay attention to areas that tend to stay damp, like shower curtains, liners, and bath mats. Hang shower curtains and liners to dry completely after showering. Wash bath mats regularly and allow them to dry thoroughly before placing them back on the bathroom floor.
Additional Preventative Measures:
- Inspect and Repair Leaks: Promptly address any leaks in your shower or bathroom plumbing, as leaks are a major source of moisture that can fuel mold growth.
- Consider Mold-Resistant Caulk: When replacing caulking, opt for a mold-resistant silicone caulk. This provides an extra layer of defense against mold growth.
- Control Humidity Levels: Invest in a dehumidifier for your bathroom, especially if you live in a humid climate. Maintaining a moderate humidity level (around 30-50%) discourages mold growth.
Read More How To Slip-Proof A Bathroom Floor At Home
Mold Removal FAQs: How to Remove Mold From Shower Caulk or Tile Grout
How long does removing mold from shower caulk or tile grout typically take?
The time it takes to remove mold from shower caulk or tile grout depends on the severity of the mold growth. Here’s a breakdown:
- Light Mold: For minor mold patches, use a natural cleaning or diluted bleach solution with a good scrub, which should take 15-20 minutes.
- Stubborn Mold: Heavier mold growth might require a longer application time (30 minutes or more) with the chosen cleaning solution, followed by more vigorous scrubbing. In some cases, multiple cleaning sessions might be necessary.
Can bleach effectively remove mold from caulking and grout?
Yes, bleach can effectively remove mold from caulking and grout. Its disinfecting properties kill mold spores. However, remember to:
- Dilute it properly: Use a ratio of 1 part bleach to 10 parts water.
- Ventilate well: Open windows and doors to avoid inhaling fumes.
- Never mix with ammonia: This creates toxic gas.
How can I prevent mold from coming back after removal?
Here are some ways to prevent mold from returning after removal:
- Regular cleaning: Include scrubbing the shower surfaces (including caulk and grout) with your chosen cleaning solution as part of your regular shower routine.
- Improve ventilation: Open a window or turn on the fan after showering to reduce moisture buildup.
- Squeegee away water: Use a squeegee to remove excess water from shower walls after showering.
- Consider mold-resistant caulk: Opt for mold-resistant silicone caulking for added protection when replacing caulking.
Are there natural alternatives to bleach for mold removal?
Natural alternatives to bleach for mold removal include:
- Baking soda paste: Mix baking soda with water to create a paste. Apply it to the moldy area, let it sit for 15-20 minutes, then scrub and rinse.
- White vinegar: Spray white vinegar directly on the mold, let it sit for 15-20 minutes, then scrub and rinse.
- Hydrogen peroxide: Apply 3% hydrogen peroxide solution to the mold, let it sit for 15-20 minutes, then scrub and rinse.
What are some common mistakes to avoid during the mold removal process?
Here are some common mistakes to avoid during mold removal:
- Not ventilating properly: Always ensure proper ventilation to avoid inhaling mold spores or chemical fumes.
- Using expired cleaning solutions: Expired bleach or other cleaners might not be effective.
- Not scrubbing thoroughly: Scrubbing is crucial to remove mold spores, not just the surface mold.
- Not rinsing well: Improper rinsing can leave cleaning residue that attracts mold growth.
- Ignoring extensive mold growth: If you have a large mold problem, seek professional help to ensure proper removal and identify any underlying moisture issues.
Conclusion on How to Remove Mold From Shower Caulk or Tile Grout
Removing mold from shower caulk or tile grout is necessary to maintain a clean and healthy bathroom environment.
Remember, prevention is key! By incorporating regular cleaning and ventilation practices, you can keep mold at bay and enjoy a fresh, clean shower for a long time.